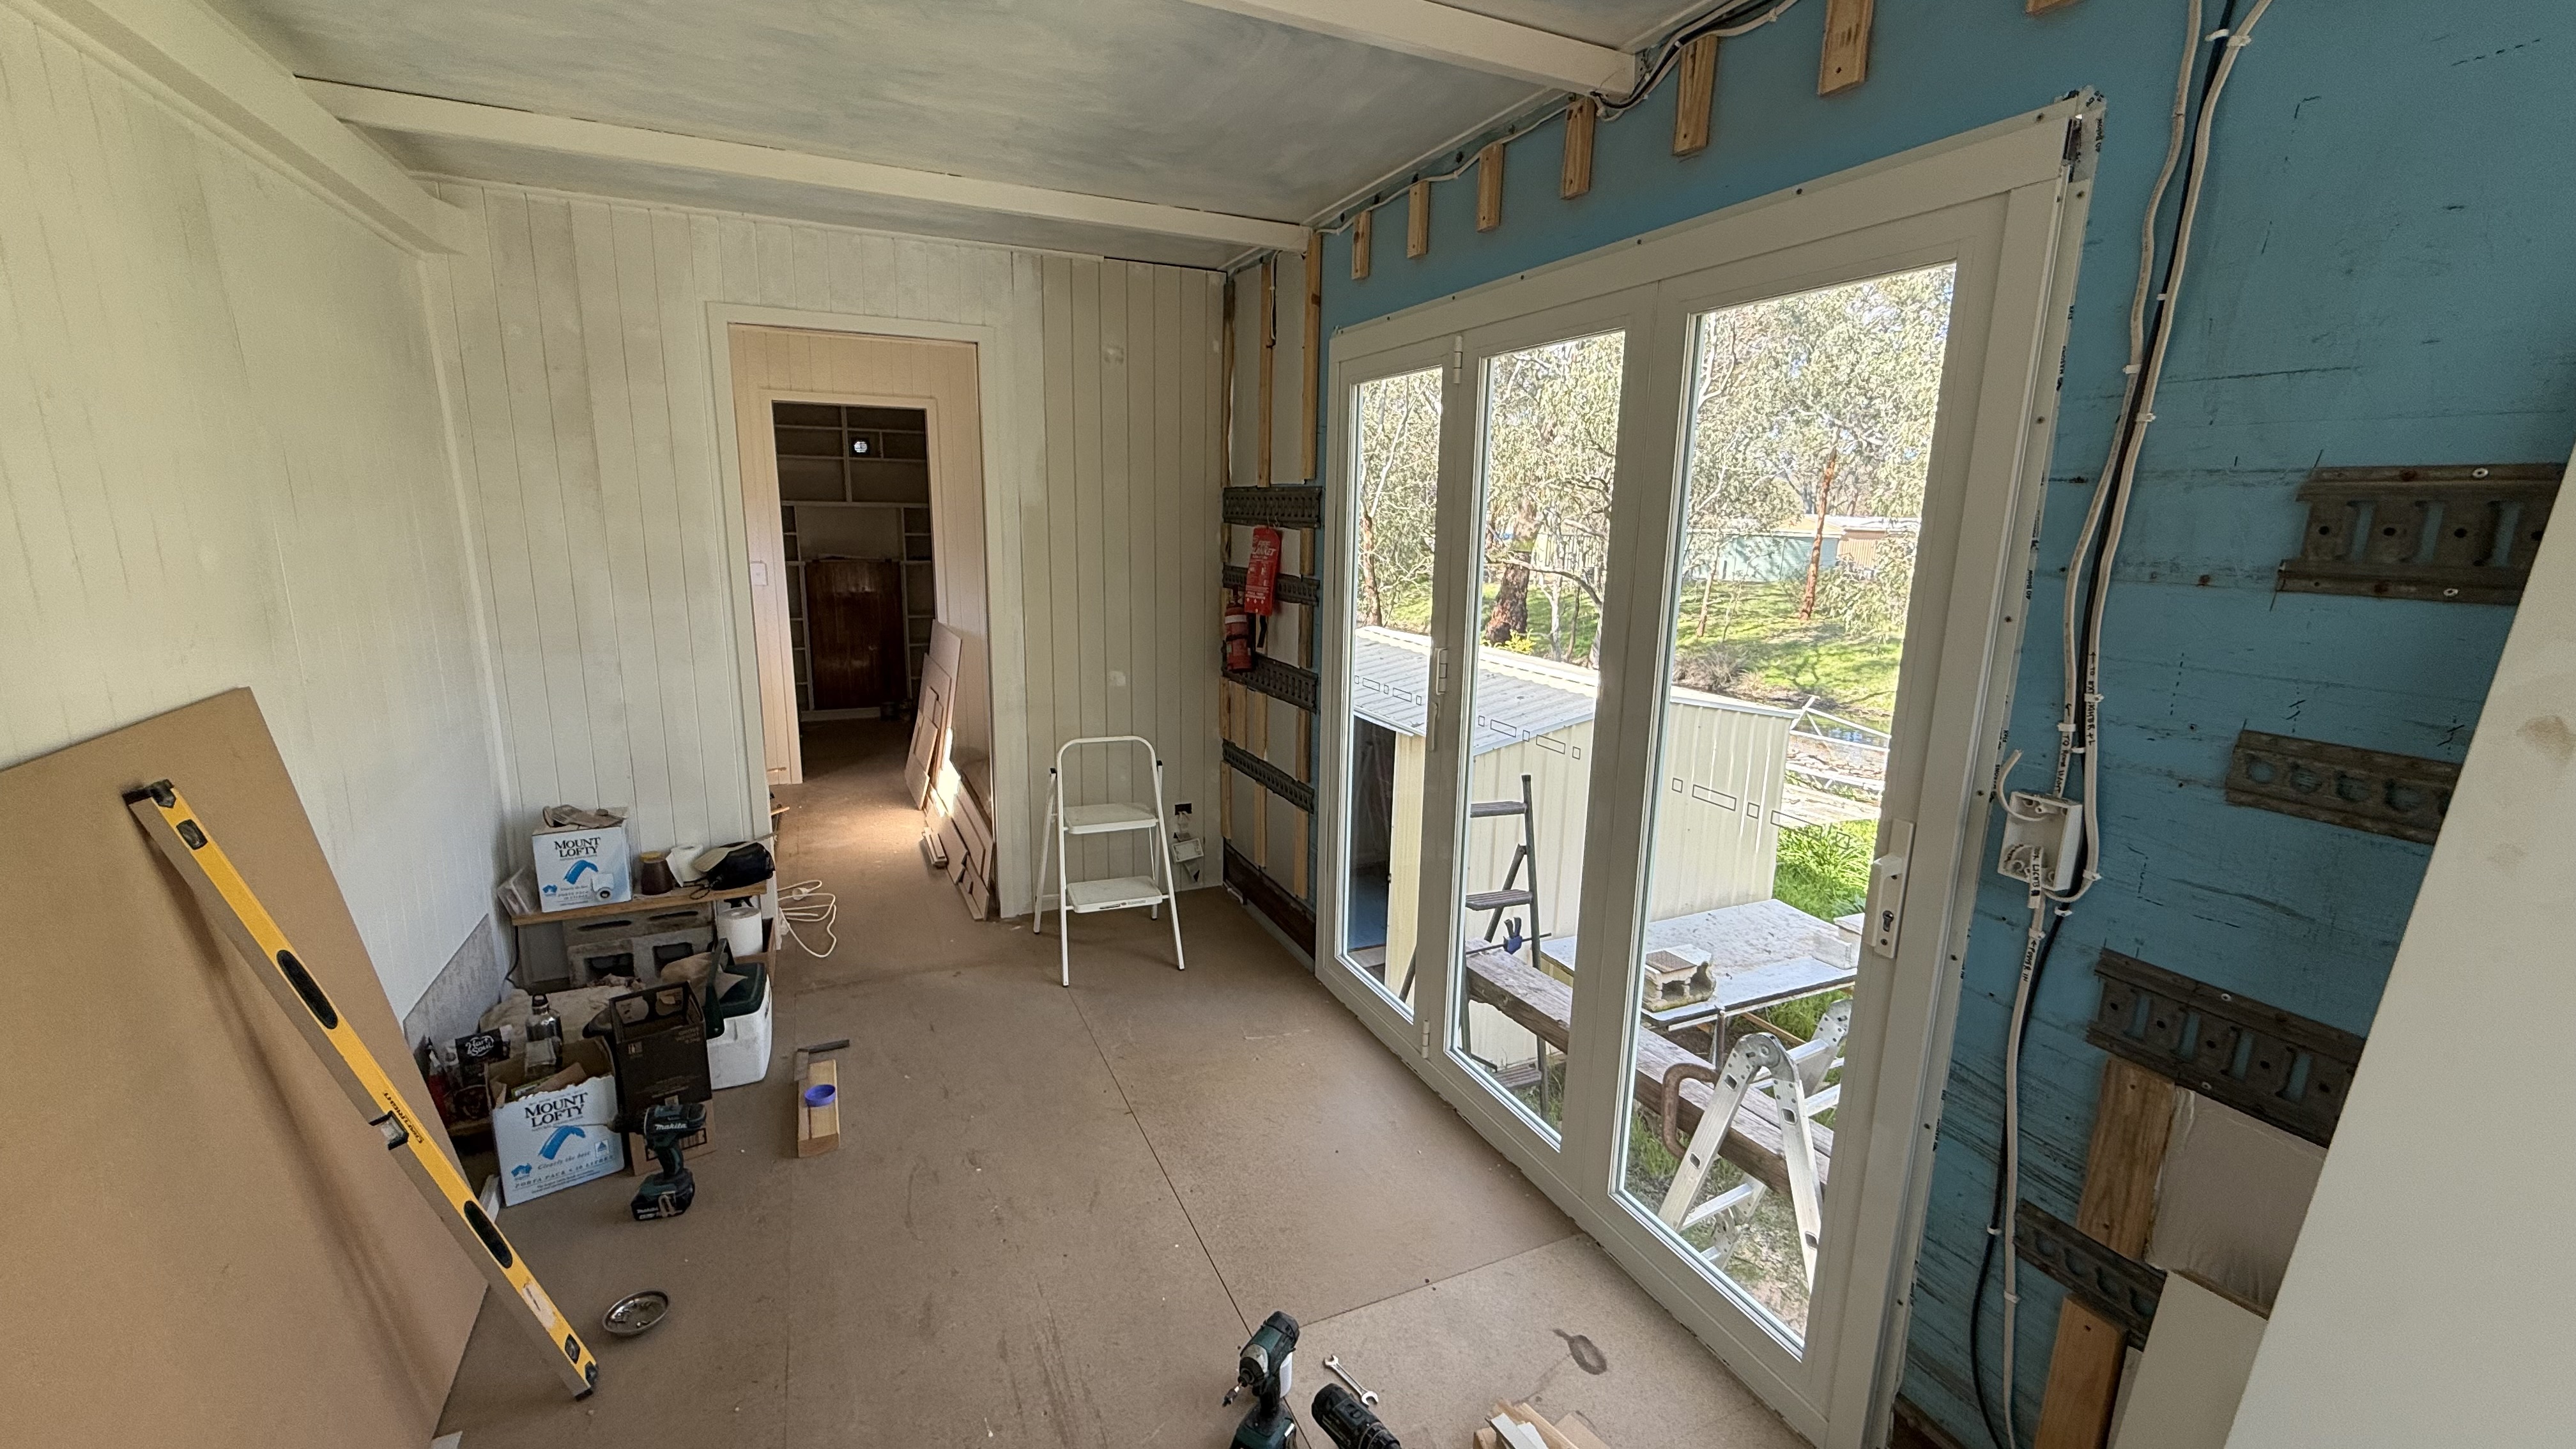
If you follow my blog then you’ve seen most of our place before but for those who are new to my Tiny World, this is a short showcase of our place as a visual tour with no talking and a good jumping off point to dig deeper if you are interested how I did it.
I realised just recently that this video was intended on going out a couple of years ago but then Living Big In A Tiny House showed up and partly did the job for us! Of course, when you build a place and live in it, you want to showcase different stuff, so this is Mike the Builder’s look at our place. 😊
When you build your own tiny house, you mostly do it alone. Out in the weather, figuring it out as you go, quietly wondering if you’re the only one crazy enough to be doing this. I’ve been thinking about how it doesn’t have to be that way.
This video is an idea I can’t shake: what if tiny house builders had a shared, covered space to build alongside each other? Somewhere to pool tools, resources, and knowledge, and to actually connect with people doing the same thing, instead of going it alone. And what if that space could grow into something bigger, a proper tiny house village where people build, help each other out, and eventually settle in as a community.
It started while I was staying at Heidi’s parents’ old farm that’s been lived on and worked for over 90 years, and it got me thinking about how these kinds of places could be perfect for exactly this. I get into the covered build space idea, the shared storage, the community side of it, and even how something like this could one day be brought to a council as a model worth testing.
If you’re building tiny, thinking about it, or sitting on land that could be repurposed for something like this, I’d genuinely love to hear from you in the comments.
If you’ve watched our videos, you’ll know that there’s no traditional rubbish bin in our kitchen. In fact, there’s no bin anywhere in the house. And I haven’t done the usual “take out the trash” routine in over four years!
Instead, we built two little chutes into the kitchen counter — one for rubbish, one for recycling — that drop straight down into the wheelie bins underneath. Open the lid, in it goes, done. No smell, no wasted bench space, no bin to squeeze around in a small room.
In the new video I have a bit of fun showing you how they work, how we made them, and give an honest four-year verdict — including the bits I still haven’t finished off properly (there’s always something!). Full video below. 😃👇
If you’ve followed the build, you know the bed goes up into the ceiling. What you probably don’t know is the myriad of optimistic/terrible ideas I went through before landing on the one that actually worked.
Attempt one was basically a forklift. A full structural mechanism was desired, but there were too many load calculations for my brain to comprehend or even bother dealing with. This one was mostly chasing an aesthetic rather than a solution however. Then it occurred to me I could just put cables on each corner instead, and suddenly the engineering genius I thought I needed to be turned out to be unnecessary. A few more dead ends followed, hidden weight panels, a powered mechanism, roller tracks, before the cable and counterbalance system won by simply being the one that didn’t fall apart on paper.
The real problem was that our roof is foam filled vinyl and was never going to hold the 220 kilos this system needed. The fix came from some heavy duty poles I’d salvaged off the trailer’s old back doors, which happened to be exactly the right length to span the whole thing and let the load hang off the rigid frame instead of the roof. Very deceptive looking at it now. A genuinely absurd amount of planning went into something that just looks like a bed with cables at the corners.
The other half of the counterbalance is a cabinet of secondhand gym weights, because apparently the structural integrity of my bedroom now rests on bargain-bin dumbbells someone was desperate to offload. I’m choosing to see that as resourceful rather than concerning!
Getting the height right was its own litany of challenges – and I still got it wrong. I built the cabinetry early, guessed at clearances, forgot to account for the pulleys, and then we upgraded the mattress a few years later just to make my past self look even more optimistic. Somehow it all still lines up, in both bed mode and the dining chair, boat seat, feature wall version of the room.
So how do I feel about it four years on? Genuinely good, mostly. It works exactly as a bed should, hasn’t dragged us into the ceiling in our sleep, and the storage box access underneath is pretty cool and handy. It’s not perfect though. Heidi has strong opinions about changing the sheets on it. It’s a bit noisy going up and down, easy to knock off balance, and slow enough to deploy that we often just don’t bother and treat it like a normal bed with junk shoved underneath.
What I’m actually proud of isn’t the carpentry, it’s that this was a physics problem wearing a carpentry costume, and it came in thousands $$ cheaper than anything commercial. Check out the full build, how it works for us and my verdict in all its glory on the video on YouTube.
If you’ve ever built anything with a counterbalance or a load-bearing mechanism, tell me your version of the story. Even if it involves secondhand gym equipment!
I’m Glad This Build Is (mostly) Done. I’m Proud of It!
Building for a client is a different beast to building for yourself. With my own tiny house, the frustrations were mine to deal with on my own terms. This time there were two of us invested in the outcome, and we didn’t always share the same vision. That added a layer of pressure I felt pretty much every day on site.
This was my first semi trailer tiny house client build and I’ll be honest, it took a lot out of me physically. I’m not as young as I used to be 😛, and tiny house construction has a way of reminding you of that fairly regularly. But there’s something that happens when one of these builds finally comes together; suddenly all the sore muscles get a bit forgotten in place of what has turned out to be a successful project.
Make no mistake; there were heaps of moments during this build where the stress was genuinely dragging me down mentally as well. Anyone who’s built anything with their hands knows that the Instagram version of the process and the reality of it are two completely different things. The reality involves frustration, mistakes, and days where you seriously question why you bothering with ay of it. I had way, way many of those. What I try to remember is that momentum builds the further you get in, and eventually the thing starts looking like something. I don’t understand the psychology exactly, but it’s like a bit of positive reinforcement or affirmation makes the hurdles and pain leak out of your brain.
The house itself turned out really well. Loaded with all the niceties: composting toilet, Cubic Mini fireplace, ducted aircon, bespoke cabinetry, a walk-in wardrobe that would embarrass most apartments — it punches well above its weight for the footprint. I lived alongside it for months during the build and genuinely think whoever ends up in that space is going to have a good life in it.
What made this one harder and also better than expected was the collaboration itself. The client was detail-oriented and deeply invested. My wife, who is a hawk-level critic, came and had a look and was quick to point things out. Between the two of them, I was pushed to dot my i’s and cross my t’s. The finished house is genuinely better for it, I’m sure.
The circumstances around what happens to it next are out of everyone’s hands, which is disappointing after a year and a half of work. That and councils interfering where they don’t need to, but that’s a topic for another post. At least it got built, and whoever ends up living in it gets a well-considered, eco-conscious little space that I’d be comfortable putting my name on.
Anyway, It’s done! And I’m pretty proud of it. 😊🙌🏼
Ahoy! Long time between posts and apologies for the radio-silence.
Shortly before completing the majority of our P2 guesthouse space and having guests stay in succession, I was contacted by the daughter of an elderly friend of Heidi’s who was a single woman looking to both downsize and give herself affordable living autonomy in this crazy real estate market (hell). I offered my services with the caveat that my skillset was limited to semi-trailer tiny homes and that was something she quickly agreed to. We were able to show her a couple of examples of semi-trailer tiny homes and it is easy to see the virtues.
Fast forward 11 months, and I am reminded at how much work is involved in building a house (especially when you do it all yourself!) and how little I have been updating my progress (hence the lack of posts on this blog!). It was somewhat liberating not to film everything I was doing this time around like when I built our place, but I’m sure I’ll miss seeing the evolution of all the work once it is done. I’ve included a little gallery of pics here to give you an idea and I’ll do a proper “tour” once it is done. Here is a walk-through I did about 75% of the way through:
Given that toilets and sewage are something that most people – including myself for most of my life – never really think too much about, when I express just how much I am thankful for the idea of composting toilets, it probably sounds like a strange exaggeration. Composting toilets are not only environmentally sound, clean and functionally simple but they are also the most natural way (figuratively and metaphorically) to deal with human waste. Ours is particularly simple and that is its beauty, along with being inexpensive. Let’s have a look at what sorts of benefits that this type of system offers over flushing toilets and where they work best, how ours works and where we might make improvements.
Benefits and Uses
First up, let’s look at 10 reasons why composting toilets can be seen as superior to flushing toilets (especially in the right context).
Water Conservation:
Composting toilets do not require water for flushing, contributing to significant water conservation. For example, even with water-saving loos in Australia (3L per half flush, 6L per full) meaning a family of 4 flushes around 28,000 litres of drinking-quality water down the bog every year. In Adelaide, this constitutes 18% (32 GL) of all mains water use from the 200 gigalitres we use every year. It takes energy and resources to purify water, a lot of energy to operate desalination plants and in a state where rainfall is due to decline by as much as 30% by 2050, we can’t afford to minimise the importance of fresh water.
Environmental Impact:
Flushing toilets contribute to water pollution through the release of sewage into water bodies. Composting toilets eliminate this form of pollution, as they do not produce liquid waste that requires treatment. Best of all, “humanure” is natural and, when composted and dealt with appropriately, can be used as a positive way to restore soil health.
Significant Reduction in Energy Use:
Traditional sewage treatment and water supply systems involve significant energy consumption. Composting toilets effectively take away all the energy consumption from the system other than some manual labour in managing your compost.
Off-Grid Capability:
Composting toilets are perfectly suited for off-grid living or in remote areas where access to water and sewage infrastructure is limited. They provide a sanitation solution without the need for extensive plumbing. Once you remove “black water” from your waste system (in most areas, only toilet water is black water now), it is easy to deal with grey water with zero sewage involvement.
Nutrient-Rich Compost:
Not only environmentally friendly from a water or energy perspective, compost produced by composting toilets can be a valuable resource for gardening and agriculture. It is rich in nutrients and can be safely used as fertilizer after proper composting.
Odour Control:
A common concern is that composting toilets smell worse than flushing loos. A properly set up composting one is designed to minimize or eliminate odours through proper ventilation and microbial decomposition. A dry bucket loo will have no odour (other than smells created “in-progress” which is the same as any toilet! 😛 Advanced models often have features like fans and venting systems to keep the compost dry as moisture is usually the only contributor to smell.
Reduced Infrastructure Costs:
Installing traditional sewage systems and water supply infrastructure can be expensive. A composting toilet can be as simple as a bucket under a toilet seat with organic covering material up to a traditional-looking toilet with a chambered unit under the house. Not having a “wet” system means plumbing can be DIY and is very simple to maintain or repair.
Resilience to Water Shortages:
During droughts or water shortages, traditional flushing toilets may face restrictions or challenges. Some eco-minded folks will put a brick in the toilet tank to conserve water or other modifications, but the fact is, toilets need water to work effectively without blocking up. Composting toilets provide a reliable and independent sanitation solution that doesn’t rely on water availability.
Reduced Strain on Sewage Systems:
In areas with overburdened sewage systems, composting toilets can help reduce the strain on infrastructure, preventing issues like sewage overflows and backups. On a localised level, a “blocked toilet” is a thing of the past with a composting toilet, rendering a toilet plunger permanently unneeded! Hooray! It doesn’t matter what you throw down the loo as long as it can naturally break down. In one house we lived in, our old pipes would be routinely infiltrated by tree roots which resulted in horror scenes of raw sewage burbling up through a backyard grate. Yuck-o.
Adaptability to Various Climates:
Composting toilets can function effectively in a range of climates, including cold and remote areas, where traditional sewage systems may be challenging to implement. Frozen pipes aren’t going to affect this system, and hot environments only help get the composting process moving along faster.
Bonus point: Silence. Rather than worrying about plopping or tinkling sounds in a wet loo, nor the sound of a toilet flushing (eg. in the quiet of the night or numerous times with guests over), there is complete silence. Not something to be underestimated in its importance.
Based on many of these reasons, I personally think that we should see a whole lot more people giving composting toilets a try, however the reality is of course much different. Local regulations, and the specific needs of a given community will dictate what is “allowed” or not. Sadly, despite fresh water being a disappearing resource, city councils will probably never adopt any other system other than the one they have as they see human waste as a public health (even though flushing toilets are still reliant on people using and maintaining them properly). However, with more people going off-grid and expanding into semi-rural areas, this is entirely a possible solution.
Our composting toilet experience
We came into the composting toilet idea early on after seeing how effective they were and how many people used them during our Intentional Community trips. There were indoor and outdoor loos-with-views, fancy loos, simple loos. The one thing in common was that they were all inoffensive to use, clean and required no special plumbing. Including our time building our tiny house, we haven’t had a flushing toilet since early 2019. Largely we have not missed it at all:
Pros: the environmental considerations listed above, easy to keep clean, quiet, no unclogging or flooding concerns, no mechanical issues like tank stuck filling.
Cons: requires manually levelling the accumulated pile occasionally for better coverage, can get smelly if people wee in it (see challenges below), no flushing water should things stick to the bowl, every 6 weeks or so the bin needs swapping and old compost needs burying.
Our set-up is based on ones that we saw for sale by companies like Green-Loo who have large multi-chamber polycarbonate units that can fit under tiny houses and will allow the composting activity to occur within. Some units like the Separett include unique urine diverters but you still need to empty compartments plus it requires you to always sit down and I just don’t personally like the way they look. The Green-Loo system is well thought out but much more expensive than we wanted to spend, but we modelled ours off that idea.
The perk to building in a semi-trailer body is the height from the ground. Having just over a meter of clearance means that we could slip a standard wheelie bin underneath which would provide us with a waste receptacle at a fraction of the price of a dedicated system ($75 per bin from Paramount Browns, delivered). We found some handy plans of how to fit-out a bin for this purpose and then just modified it to work with the Green-Loo pedestal toilet, which was our biggest expense ($450). A good-quality fan which sits in-line in the large exhaust pipe out of the bin ran us about $100 too.
The design is based around the idea that there is a sub-compartment separated by a mesh barrier that allows liquids to accumulate in the lower reservoir and then a hose from that lower area allows fluids to leak into a run-off pit as needed. The mesh barrier keeps the solids compost up top and then near the very top of the bin is a hole for the vent pipe and fan. The wheelie bin has its attached lid hanging off the back, unused until it gets swapped for a fresh bin, then closed up and sat in the sun to ferment. A standalone lid with a hole cut in the middle hugs the main toilet shaft from the house above and sits snug over the bin to keep it sealed up. In the house, the toilet pedestal looks like any other toilet and the only giveaway is no tank or flusher. To further conceal the nature of the system, we have a couple of storage boxes built into the wall as drawers which hold the bulking material that you use to cover your business in the toilet after you’ve gone. Added innovation: the bulking material boxes are in a two-way hole that leads out to the back of the trailer where two large bulk storage bins reside in the wall of the trailer. They can each hold about 200 litres of material so it allows us to easily top up the internal bins without having to drag anything in through the house.
Watch the video at the bottom of this page of how I put it all together and what the system looks like.
The result: a largely fuss-free toilet experience but not without both some caveats and planned changes. Initially, we used the toilet for all activities with the intent to allow liquids to drain out, keeping things dry enough not to smell with the fan doing its job to dry out what was there and draw away remaining smells. In the winter and when the bin is less than half full, this worked well enough. If we didn’t use enough covering material (or the right covering material…it took us time to get that right) then it might smell for a short time after a wee until it got soaked up into the pile (we tend to use bulk garden compost mixed with soil from our yard for solids and pet bedding sawdust for liquids). With two of us working from home, it was just too much fluid in the system so I just went outside for my contribution (which wasn’t terrible: there is no one around where we are and it gets me outside). Come summer, the toilet smelled a bit more which led to Heidi avoiding weeing into the toilet at all and using a bucket and then dumping outside. Obviously this is not rendering our toilet system too useful if we are only using it each once a day!
With the decision to keep our other semi-trailer (P2) and fit it out as a guest space, we decided it made sense to add a toilet there too. On a couple of our intentional community visits we came across duel toilet set-ups and thought this made sense in P2. This way we can make the toilet in our main house (P1) a dedicated wee-only toilet which will allow it to be used many times a day, with a dedicated wee-only toilet right next to a dedicated poo-only toilet in P2. The only downsides to this idea are that it means someone must use the poo-only (which is really just like the one in P1 now, so it can take fluids too if someone is unsure of what might come out 😱) for poo, and never never do a number 2 in the wee toilet which will be fitted with essentially a funnel connected to a hose! Also, my handy-dandy bulking material bins will be rendered useless in P1 (although, I’ll set it up so that the original set-up can be easily implemented if that suits us in some future scenario).
Overall, we really like the composting toilet set-up. We have a special microbacterial spray that speeds up the process of composting in the toilet and doubles as a cleaner so keeping the bowl clean is easy. It looks good, there is no splashing or flushing or brushing required. There is no plumbing, septic, sewage costs and most importantly, water wastage. It does require a slightly more hands-on approach to swap out bins and bury compost, plus manage bulking/covering material.
If you want to visually check out the process and the result, have a watch of the video below. Let me know if you have any questions or comments in the section below!
Our journey to reducing the complications in our life has taken a few years, but the results are palpable: feeling less money-stress, having time to truly breathe in life and not feel like it is dragging you along, space to explore what is most meaningful to you. Even just find a space to “waste” time and become bored to stir up creativity are all valuable things.
In this video, Mike talks about what we have learned and the tips and tricks to start thinking about how you can simply your existence for the betterment of not only your own life but for relationships and the environment. Enjoy and thanks for watching! 💚
the.semitrailer.project.P2 : : Build update – Dec 2023
A new chapter with a new semi-trailer project! This overview tour gives you a sneak peek at progress to date of the second half of our semi-trailer tiny home. Mike discusses what we’ve completed and future plans to come for this guest space, storage area and fancy bathtub room ☺️
With this new chapter, we hope that you find inspiration and creativity for your own project and minimalist vision. Enjoy and thanks for watching! 💚
the.semitrailer.project : : Build update – Oct 2022
day 1317 : : blog post 024
There was just too many fun projects left to finish, so it warranted this final jam-packed episode en route to us moving the tiny to its new permanent location. The clock was ticking to wrap up the last of the tiling, plumbing, flooring and many other little tasks before our Big House on Wheels (BHOW) was hitched onto the prime mover that took us to the outskirts of Adelaide.
Our 3 year journey is wrapping up…thanks for being a part of it! Enjoy and thanks for watching! 💚